Entertainment
Understanding RLJ Entertainment on Roku: Ownership, Access, and Opportunities

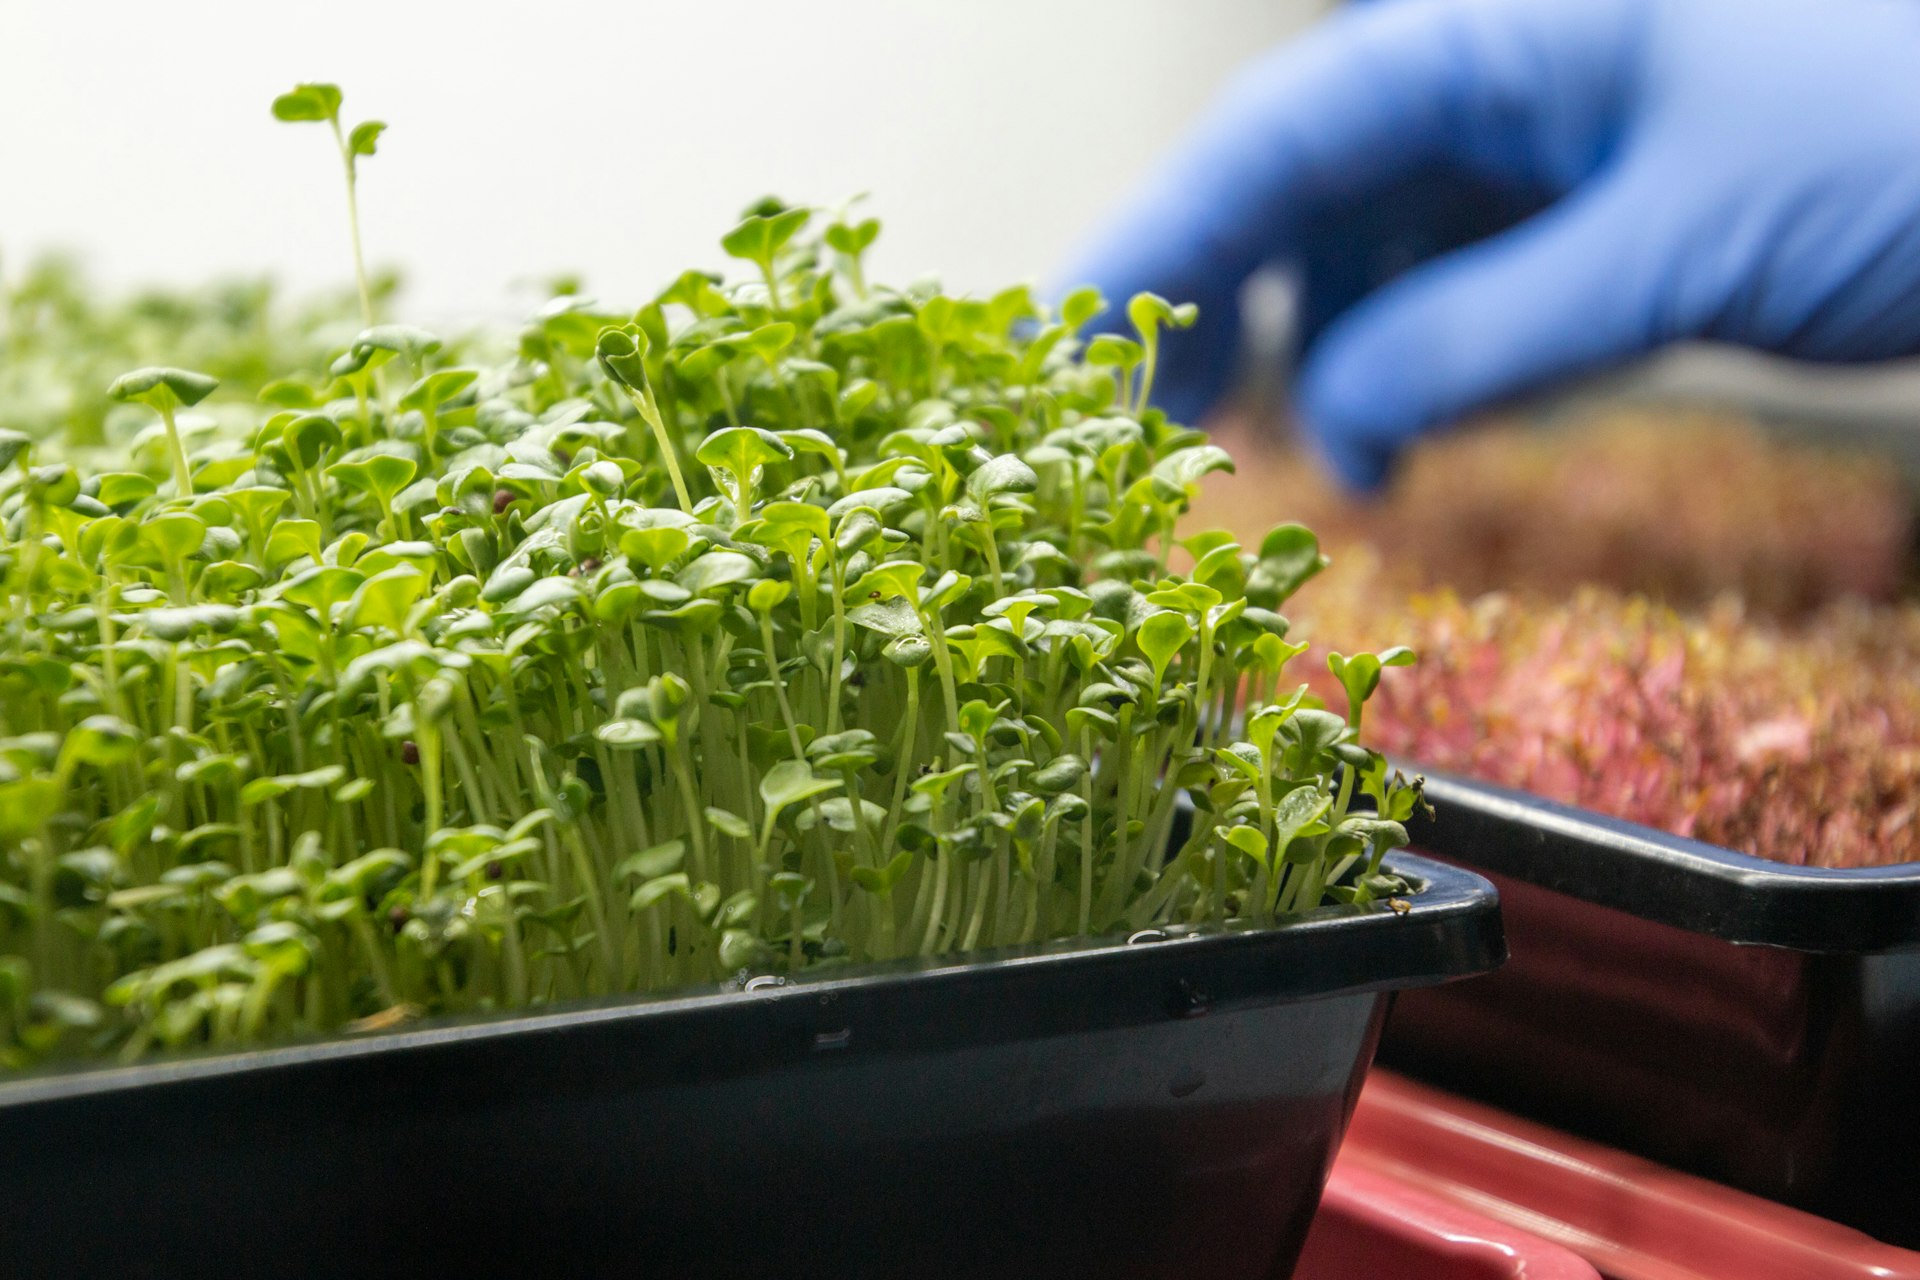
Urban and small-space gardening requires creative solutions. A raised herb spiral offers a compact, visually striking, and highly productive way to grow a variety of herbs in a limited area. This permaculture-inspired approach creates multiple microclimates in a single, vertical structure, allowing you to cultivate drought-tolerant, Mediterranean herbs at the top and moisture-loving varieties at the base. The spiral design also simplifies maintenance and harvesting, making it ideal for beginners and experienced gardeners alike [4] .
The core principle of the herb spiral is the creation of microclimates within a compact footprint. By elevating the center and spiraling downward, you create zones with differing moisture, temperature, and sunlight exposure. The uppermost point is driest and warmest, perfect for herbs like rosemary and thyme, while the bottom retains more moisture, suiting basil and parsley [1] . This layout mimics natural gradients found in the wild and harnesses gravity for efficient water distribution.
You can build your spiral using accessible or repurposed materials. Typical choices include:
Before purchasing new supplies, check your yard or local community groups for usable materials. This not only saves money but also supports sustainable gardening practices [3] .

Pick a spot with full sun -at least six to eight hours daily is ideal. Ensure the ground is level to simplify construction and ensure stability. If needed, clear vegetation and smooth out uneven soil. Proximity to your kitchen or outdoor seating area can make harvesting more convenient [4] .
Mark out a circle, typically 1-2 meters (3-6 feet) in diameter, depending on available space. Lay down cardboard or landscape fabric to suppress weeds and improve soil quality. This base will eventually decompose, enriching the soil while preventing unwanted growth at the start [3] .
Arrange your chosen material (bricks, stones, or wood) in a spiral pattern, starting from the center and gradually working outward. Each layer should gently rise toward the center, creating a mini-hill. Aim for a height of 18-24 inches (45-60 cm) at the center; this provides enough elevation for effective drainage and visual appeal [1] . For small yards, a spiral of 3-4 feet in diameter is generally sufficient.
To ensure stability, stagger the bricks or stones as you build up, and compact them gently into the soil. If drainage is a concern, add coarse gravel or broken pots at the core before filling with soil.
Mix equal parts topsoil and compost for a nutrient-rich growing medium. Fill the spiral framework, ensuring the soil follows the gentle downward slope from the center to the base. Avoid packing the soil too tightly-good aeration is vital for healthy root growth. After filling, apply a 1-2 inch layer of mulch on top to conserve moisture and suppress weeds [1] .
The spiral design allows you to group herbs by their water and sunlight needs:
Space each plant according to its mature size. Water thoroughly after planting and monitor moisture in the weeks that follow, adjusting as needed based on your local climate and rainfall.
Gardeners have successfully built herb spirals in spaces as small as 2 meters (6.5 feet) across, with up to 160 bricks used for a robust structure [5] . One case involved adding coarse gravel in the center for drainage and filling the spiral with a blend of sand, compost, manure, and topsoil. The result was a dense, attractive planting that provided fresh herbs for culinary and medicinal use-demonstrating that even the smallest yards can yield impressive harvests.
Limited Space: If your yard is very small, scale down the spiral’s diameter. A 3-foot spiral can hold several herb varieties and still create distinct microclimates.
Material Availability: If bricks or stones are hard to source, use wooden boards or even upcycled materials like bottles or concrete blocks. Always ensure structural stability to avoid collapse.
Pest Control: Herb spirals can attract beneficial insects, but may also be targeted by slugs or aphids. Interplanting with pest-repellent herbs (like mint or chives) and using organic mulches can help mitigate these issues. For persistent pest problems, consider searching for “organic herb garden pest solutions” or contacting your local cooperative extension for guidance.
If you cannot build a ground-level spiral, consider:
These alternatives provide much of the same benefit as a traditional spiral and may be more suitable for patios, balconies, or paved areas.
Regular maintenance ensures continued productivity:
In colder climates, some herbs may need protection or replacement each season. Research your zone and select varieties suited to your conditions for best results.
If you’re new to gardening or want more information, consider searching for “herb spiral tutorial” or “permaculture herb spiral” on established gardening websites, university extension programs, or YouTube channels. For local advice, contact your county’s extension office or look for community garden groups in your area. These resources can offer region-specific guidance and hands-on workshops.
A raised herb spiral is a practical, attractive, and efficient way to maximize herb production in small yards. By following the steps above and adapting materials and plants to your unique space, you can enjoy fresh herbs year-round while enhancing your garden’s beauty and biodiversity.
MORE FROM hotondeals.com