Start Making DIY Crafts: A Comprehensive Guide for Beginners
Introduction: Why DIY Crafts?
DIY crafts offer a creative escape, help personalize your space, and can even save money compared to buying ready-made décor or gifts. For many, crafting is more than just a hobby-it’s a way to relax, express individuality, and learn new skills. Whether you’re brand new to crafting or looking to expand your repertoire, getting started is easier than you might think. This guide covers everything you need to know to begin your DIY craft journey, from essential tools and materials to step-by-step instructions for your first projects, plus alternative approaches and troubleshooting tips.
Choosing Your First DIY Craft Project
One of the most important steps in starting DIY crafts is selecting a project that matches your skill level, interests, and available time. Beginners often find it beneficial to start with small, manageable projects, such as painting a decorative jar, creating a simple greeting card, or assembling a basic picture frame. These projects require minimal supplies and allow you to build confidence quickly [1] . As you gain experience, you can move on to more advanced crafts, like furniture refinishing or wall art.
To help make your choice, ask yourself:
- What do I enjoy? (e.g., painting, sewing, woodworking, paper crafts)
- How much time can I dedicate?
- What resources and space do I have available?
It’s perfectly normal to try several types of crafts before settling on favorites. Many experienced crafters recommend keeping an open mind and exploring a range of techniques to discover what you truly enjoy [2] .
Essential Tools and Materials for Beginners
You don’t need a fully stocked workshop to get started. For most beginner crafts, a few basic tools and supplies will suffice. Here are essentials you might need:
- Scissors : A sharp, comfortable pair for cutting paper, fabric, or ribbon.
- Glue : Multipurpose craft glue or a hot glue gun for quick adhesion.
- Paints and brushes : Acrylic paints are versatile and easy to use for various surfaces.
- Measuring tape or ruler : For precision in cutting and assembling projects.
- Utility knife or craft blade : Helpful for cutting cardboard or thicker materials.
- Basic sewing kit : If you’re interested in fabric crafts, needles, thread, and pins are essential.
It’s advisable to purchase supplies as needed rather than buying large bundles up front, which can lead to unnecessary expense and unused materials. Many experienced crafters suggest buying the best quality tools you can reasonably afford, as they’ll last longer and provide better results [3] .
Getting Inspired and Planning Your Project
Inspiration for DIY crafts can come from anywhere: nature, home décor magazines, online platforms, or even everyday objects. Crafting blogs and social media channels offer countless ideas, tutorials, and project templates to spark your creativity. For example, sites like Mod Podge Rocks provide extensive lists of craft ideas suitable for all ages, many using supplies you likely already have at home [5] .
Once you’ve chosen a project, take a few minutes to plan. Gather all your materials, clear a workspace, and read through instructions before starting. Preparation helps avoid frustration and ensures you have everything you need on hand.
Step-by-Step: Making Your First DIY Craft
Let’s walk through a beginner-friendly project: Decorative Mason Jar Lanterns .
- Gather Materials: You’ll need a clean mason jar, acrylic paints, a paintbrush, craft glue, decorative paper or twine, and a battery-operated tea light.
- Paint the Jar: Apply a layer of acrylic paint to the outside of the jar. Let it dry completely before adding a second coat for more vibrant color.
- Decorate: Once dry, wrap decorative paper or twine around the mouth of the jar and secure it with glue. Add stickers, stencils, or freehand designs as desired.
- Add Lighting: Place the battery tea light inside the jar to create a cozy lantern effect.
- Display: Arrange your lantern on a table, shelf, or patio for an instant boost of handmade charm.
This project can be customized in countless ways, making it ideal for beginners and experienced crafters alike. If you make a mistake, remember that paint and glue can usually be removed or covered, so don’t be afraid to experiment.
Troubleshooting and Overcoming Challenges
Everyone encounters obstacles when trying something new. Common challenges in DIY crafts include materials not adhering properly, paint streaks, or projects not turning out as expected. To overcome these issues:
- Start small : Choose projects that require fewer steps and materials to minimize potential frustration [1] .
- Practice patience : Allow glue and paint to dry fully between steps to achieve the best results.
- Accept mistakes as part of learning : Every crafter, even experienced ones, makes mistakes. Use them as opportunities to try different techniques or embellishments.
If you’re unsure about a step, search for video tutorials or community forums dedicated to your craft. Many crafters share troubleshooting tips and solutions for common problems [3] .
Alternative Approaches and Expanding Your Skills
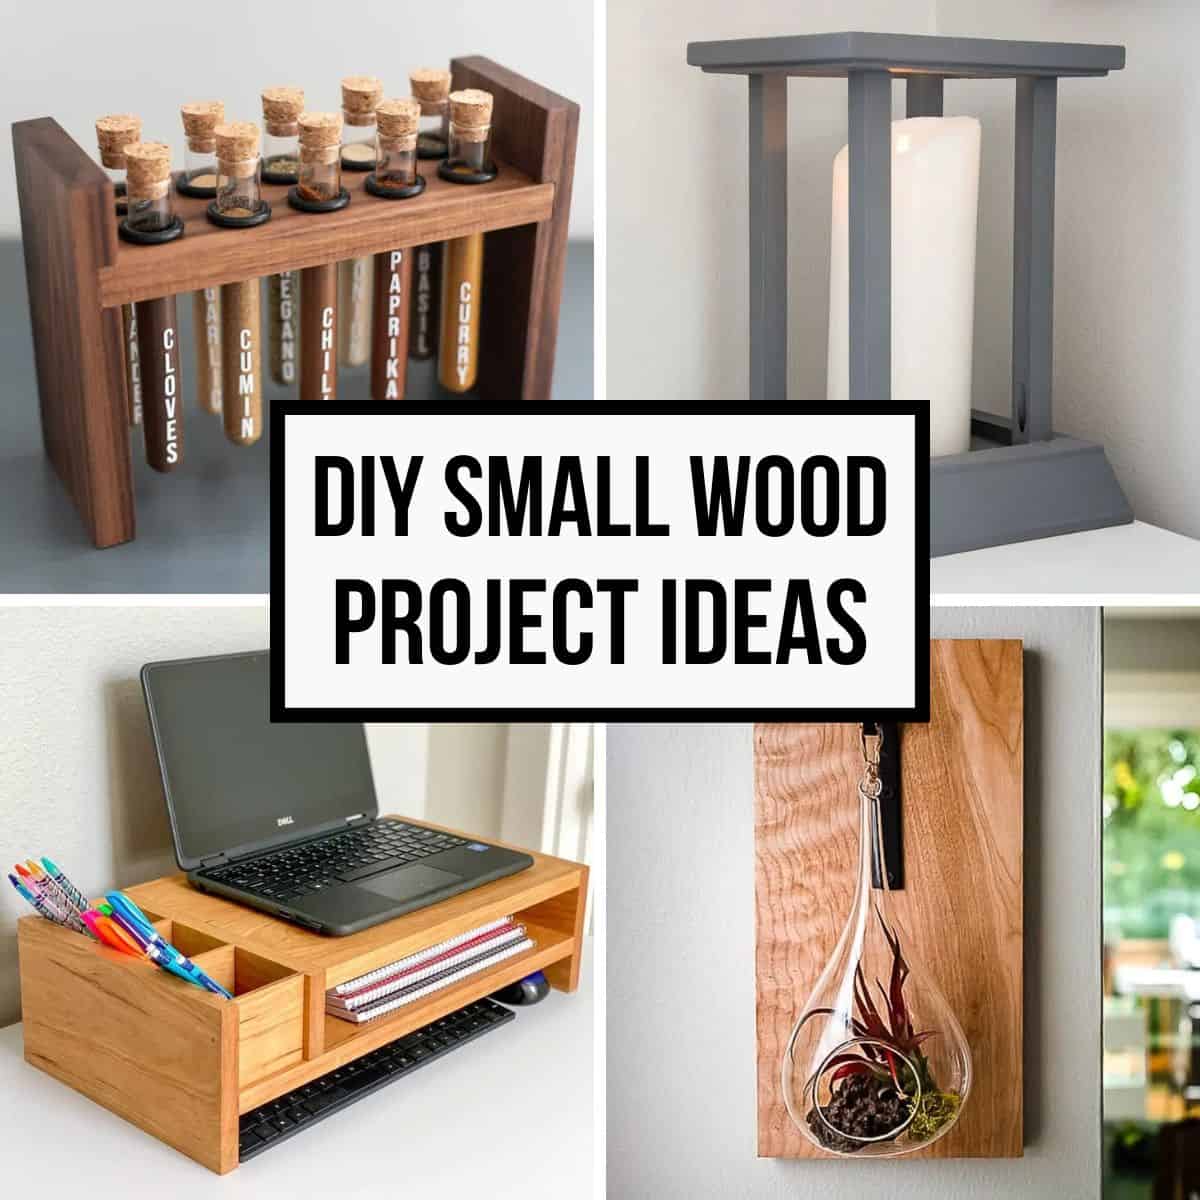
Once you’re comfortable with basic projects, consider exploring new materials or techniques. Woodworking, papercraft, upcycling, and textile arts all offer unique opportunities for creativity and personalization. For example, refinishing furniture or building a small shelf can add function and flair to your home while developing useful skills [1] . Online resources, such as crafting blogs and YouTube channels, provide step-by-step guides for a wide range of projects and skill levels.
Some communities offer free or low-cost workshops at local libraries, community centers, or craft stores, where you can learn new skills and connect with fellow enthusiasts. To find these opportunities, search online for “DIY craft classes near me” or inquire at local venues.
Tips for Staying Motivated and Inspired
Building a crafting habit takes time. To stay motivated:
- Set aside regular time for crafting, even if it’s just 30 minutes once a week.
- Display your finished projects to remind yourself of your progress.
- Join online crafting communities to share ideas and get feedback.
- Document your work with photos and notes about what you learned.
Remember, your journey is unique. There’s no “right” way to craft-just the way that works for you. The more you experiment, the more confident you’ll become in your abilities [2] .
Accessing Resources and Getting Help
Many crafters find inspiration and support from established blogs, video tutorials, and community forums. For example, the site Mod Podge Rocks features over 50 easy craft ideas using common household items, making it a helpful resource for beginners [5] . For hands-on guidance, you may want to try a “craft-along” video or attend a virtual workshop. If you’d like a list of must-have tools, some bloggers and craft educators offer downloadable guides (often free) on their websites [2] .

Source: diyncrafts.com
If you need further assistance, consider reaching out to:
- Local craft stores for workshops or tool recommendations
- Community centers for group classes
- Online forums and social media groups for peer advice
If you plan to sell your crafts, research pricing in your niche and consider starting with small batches to test demand. Many experienced sellers recommend checking popular handmade marketplaces or local craft fairs to compare rates and gauge customer interest [3] .
Summary and Next Steps
Starting your DIY crafting journey is about taking that first step-choosing a project, gathering materials, and embracing the creative process. Begin small, learn through practice, and celebrate your progress with each completed piece. As you gain skills and confidence, you’ll find endless possibilities for self-expression and practical home improvement through DIY crafts. For more inspiration and step-by-step guidance, explore reputable crafting blogs, video tutorials, or local workshops.

Source: diysoundbar.blogspot.com
References
MORE FROM hotondeals.com


