Wellness
Digital Detox for Mental Clarity: Unplug to Reclaim Your Focus and Peace

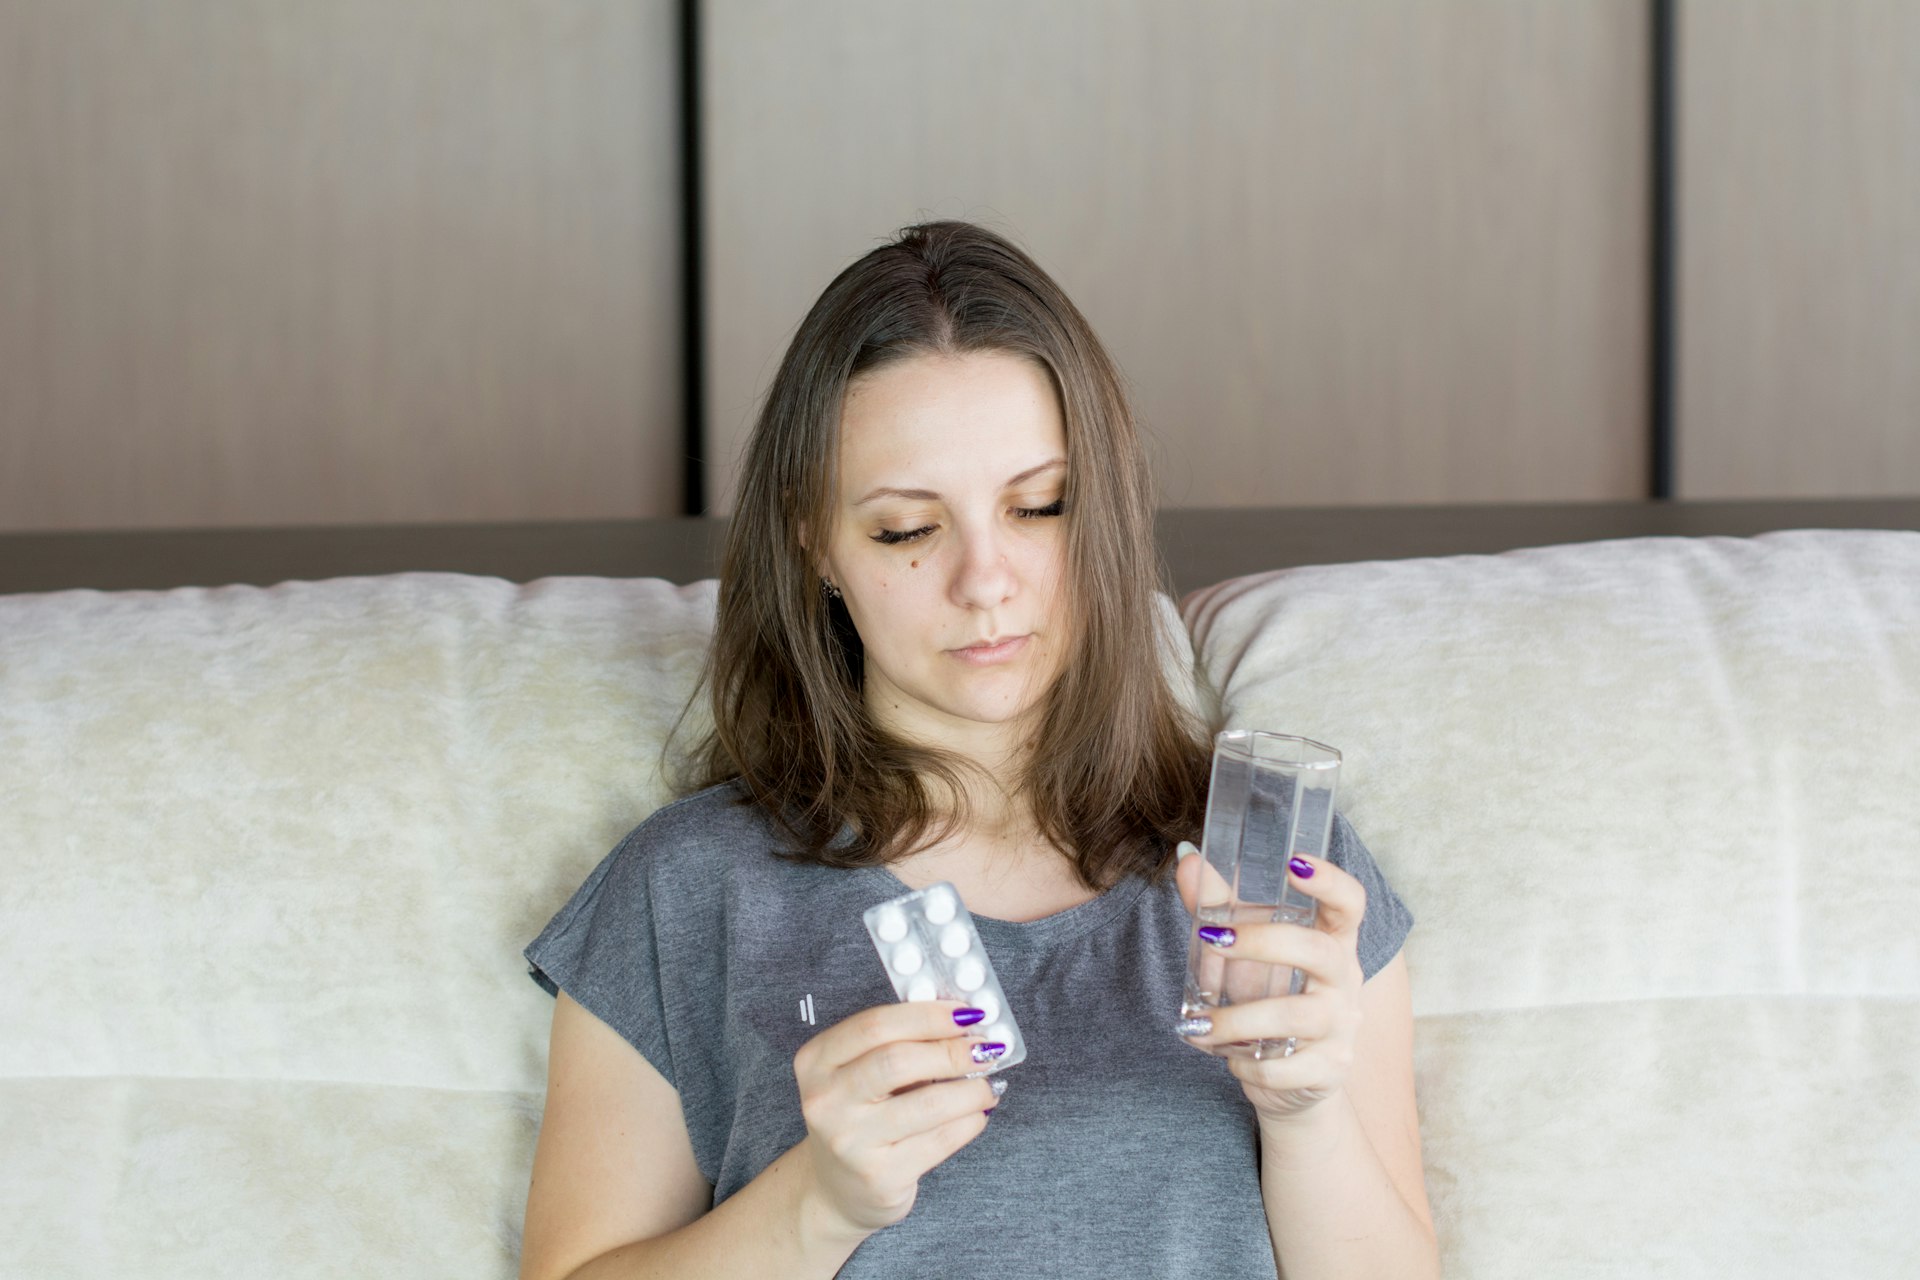
Acrylic nails offer a durable, stylish option for anyone seeking long-lasting manicures. However, removing them at home requires care, patience, and the right techniques to avoid damaging your natural nails. This comprehensive guide details proven methods, expert tips, and actionable aftercare advice for taking off acrylics safely and effectively.
Acrylic nails are bonded tightly to your natural nails, so improper removal can cause peeling, breakage, and thinning. Using recommended tools and techniques ensures a gentle process and preserves nail health. The two main approaches are acetone-based and acetone-free removal, each requiring specific steps and precautions [1] [2] .
Before starting, gather the following supplies:
Set up your workspace in a well-ventilated area, as acetone fumes can be harsh and flammable. Consider placing a towel on your work surface for easy clean-up [2] .
This is the most popular, salon-approved method for safe acrylic removal:
Use nail clippers to cut your acrylic nails as short as possible, without touching your natural nail. This reduces removal time and lowers the risk of snagging [2] .
Gently file down the topcoat and any polish or designs on the acrylics. This step helps acetone penetrate the acrylic layers more effectively and speeds up the process [1] .
Apply petroleum jelly or cuticle oil to the skin around your nails. This acts as a barrier, reducing acetone’s drying effect and preventing irritation [1] .
Saturate cotton balls with acetone and place one on each nail. Wrap the tips of your fingers with aluminum foil to hold the cotton in place and create a warm environment that accelerates acrylic breakdown. Let your nails soak for about 20 minutes [1] .
After soaking, carefully unwrap each finger. The acrylic should feel soft and pliable. Use a cuticle stick or tweezers to gently push off the loosened acrylic. If resistance is felt, rewrap and soak for another 5-10 minutes to prevent nail damage [2] .
Buff away any leftover residue, then wash your hands thoroughly to remove traces of acetone and acrylic.
Apply cuticle oil and moisturizer generously to help restore hydration and flexibility to your natural nails and surrounding skin. Consistent aftercare reduces brittleness and promotes healthy regrowth [2] .
If you prefer to avoid acetone due to sensitivity, there is a manual method, though it takes more time and patience:

Clip acrylics short, then use a cuticle stick or tweezers to lift the edges carefully. Never force the acrylic off, as this can rip your natural nail [1] .
Fill a bowl with acetone-free nail polish remover and soak your nails for 30-40 minutes. This process softens the bonds for easier removal. Periodically check the acrylics and gently peel as they loosen, continuing to soak as needed [1] .
Wash hands and apply nourishing products to restore moisture.
Challenge: Acrylic won’t soften or detach easily. Solution: Increase soak time by 5-10 minutes and ensure nails are thoroughly filed beforehand. Never scrape or force acrylic off, as this leads to damage and painful outcomes.
Challenge: Excessive dryness or irritation. Solution: Use extra petroleum jelly and limit acetone exposure. Always moisturize after treatment and consider using gloves if you experience sensitivity.
Some users opt for gentle electric nail files to speed up the process. However, improper use can thin and damage the nail plate. If you’re unsure, consider consulting a professional for stubborn acrylic removal. Many salons offer removal services with specialized products and gentle techniques.
It’s also possible to combine methods: start with manual lifting, follow with an acetone soak, and finish with a gentle buff. Always prioritize patience and gentleness over speed.
After acrylic removal, your nails may appear thin or weak. Essential aftercare practices include:
Nail growth and strength return gradually. With proper care, your natural nails will recover from acrylic use and look healthy again.
Removing acrylic nails at home is straightforward with the right tools and approach. The acetone soak method is quick and effective, while acetone-free alternatives offer a gentler option for sensitive users. Always avoid force, protect your skin, and follow up with nourishing aftercare for the best results.
If you encounter stubborn acrylics or unusual reactions, consider seeking professional help from a licensed nail technician or dermatologist. For further guidance, you can search “acrylic nail removal” on verified beauty platforms or visit trusted brands like L’Oréal Paris and Ray Cochrane for expert tutorials and safety advice [1] [2] .
MORE FROM hotondeals.com